If you’re tired of staring at cracked laminate or dated tile countertops – but can’t stomach a $5,000 granite bill – epoxy countertops are worth a serious look. For homeowners across Phoenix, Scottsdale, Mesa, and Chandler, epoxy resurfacing has become one of the most popular kitchen upgrades of 2026.
What Are Epoxy Countertops?
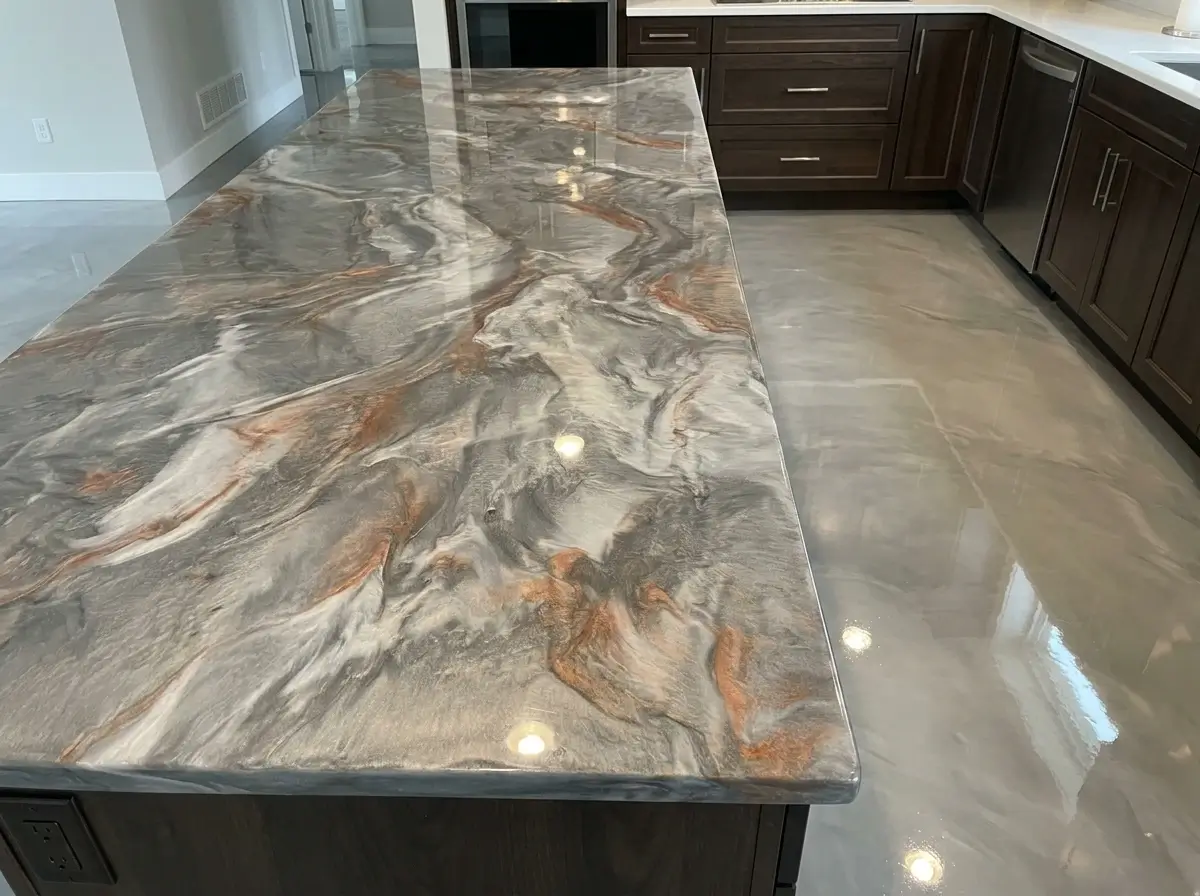
Epoxy countertops are created by applying a two-part resin system (resin + hardener) over an existing surface. Once cured, it hardens into a seamless, non-porous, glossy finish that can mimic marble, granite, metallic stone, or solid color – at a fraction of replacement cost. This is a resurfacing project, not a replacement. Your existing countertop stays; epoxy transforms it.
What Surfaces Can You Epoxy Over?
Epoxy bonds to most kitchen surfaces when properly prepped:
- Laminate / Formica – most common and easiest
- Ceramic tile – grout lines must be filled flush first
- Wood and butcher block
- Concrete and solid surface
Epoxy Countertop Cost in Arizona: DIY vs. Professional
Is epoxy cheaper than granite countertops?
Yes – significantly. DIY epoxy costs $3–$25 per square foot depending on the kit. Professional installation runs $45–$100 per square foot. Granite replacement starts at $80 per square foot installed. For a standard 40 sq ft Arizona kitchen, that means:
| Option | Cost (40 sq ft kitchen) | Notes |
|---|---|---|
|
DIY Basic Kit |
$120 – $400 |
Materials only; skill required |
|
DIY Premium (Metallic/Marble) |
$600 – $1,000 |
Stone Coat, Leggari, Countertop Epoxy brands |
|
Professional Installation |
$1,800 – $4,000 |
Labor + materials + warranty |
|
Granite Replacement |
$3,200 – $6,000 |
Professional only; demolition required |
|
Quartz Replacement |
$2,000 – $8,000 |
Professional only |
Arizona tip: Get quotes in fall or winter (Oct–Apr). Summer installs require climate-controlled spaces and add complexity – most pros charge a premium in peak heat months.
How to Epoxy Countertops: Step-by-Step Installation
Installing epoxy countertops takes 3–5 days. Here’s the full process used by Arizona professionals and experienced DIYers alike.
What You’ll Need
| Materials | Tools |
|---|---|
|
Two-part epoxy resin kit |
80-grit sandpaper / orbital sander |
|
Acetone or denatured alcohol |
Notched squeegee + foam roller (4″) |
|
Color pigments / metallic powder |
Propane torch or heat gun |
|
Primer/base coat (color-matched) |
2 mixing buckets + mechanical paddle |
|
UV polyaspartic topcoat |
Painter’s tape + plastic sheeting |
|
Body filler for chips/cracks |
Nitrile gloves, safety glasses, VOC respirator |
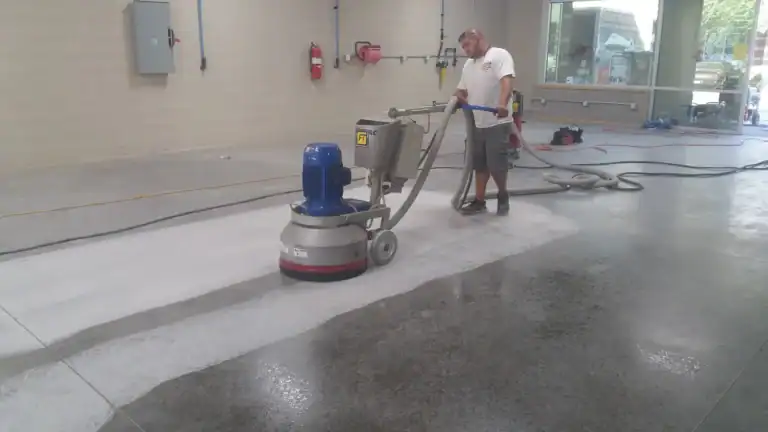
STEP 1 – Clean & Prep the Surface (Day 1, ~2 hrs)
Degrease thoroughly with acetone – any oil, grease, or residue causes delamination. Sand the entire surface with 80-grit to create a mechanical adhesion profile. Fill cracks and grout lines flush with body filler. Final wipe with denatured alcohol before proceeding.
Arizona note: Desert dust settles fast. Wipe the surface a second time immediately before pouring – even 30 minutes of open air in Mesa or Chandler is enough to deposit fine particles.
STEP 2 – Apply Primer / Base Coat (Day 1, ~1 hr)
Never skip priming. It seals porous surfaces, prevents air bubbles from migrating into the flood coat, and provides color backing. Match primer color to your design: white for marble effects, dark for metallic. Roll thin and even. Allow 4–6 hours to cure.
STEP 3 – Mix the Epoxy Resin (Day 2, ~30 min)
Measure parts A (resin) and B (hardener) precisely – most kits are 1:1 or 2:1 by volume. Use two buckets: mix in the first, then pour into the second and mix again for 3–5 minutes, scraping sides and bottom. Add pigments last and blend fully.
Arizona summer critical: Heat accelerates the exothermic reaction. Mix batches of 1 gallon maximum to prevent flash curing in the container. Work before 10 AM in summer months.
STEP 4 – Pour the Skim Coat (Day 2)
Apply a thin seal coat first – spread to 1/16″ thickness. This seals any remaining pores and prevents air bubbles from erupting through your finish coat. Let it reach gel stage (tacky, not wet) before the flood coat – typically 3–5 hours.
STEP 5 – Apply the Flood Coat & Create Your Design (Day 2)
Pour from the center, spread outward to 1/8″ even thickness using a notched squeegee. Now is when you create marble veins, metallic swirls, or stone effects – use a torch to move metallic pigments across the surface. Allow epoxy to flow slightly over edges for a seamless finish.
STEP 6 – Remove Bubbles (Day 2, first 90 min)
Pass a propane torch 4–6 inches above the surface in slow, sweeping motions. Repeat every 10–15 minutes for the first 90 minutes. Never hold the torch in one spot. In Arizona’s heat, bubbles surface faster – stay attentive.
STEP 7 – Cure, Sand, and Add Additional Coats (Day 3)
Allow 18–24 hours between coats. Sand lightly with 220-grit between pours and wipe clean with a tack cloth. Most projects need 2–3 coats for full depth and color.
STEP 8 – Apply UV Topcoat (Day 4–5)
This step is non-negotiable in Arizona. Standard epoxy yellows within 6–12 months under Arizona’s 300+ days of intense sunshine. Apply a UV-stabilized polyaspartic topcoat in 2 thin coats. Allow 72 hours before light use; 7 full days before heavy use.
Epoxy Countertops in Arizona: What No One Else Tells You
Can Arizona’s heat damage epoxy countertops?
Once fully cured, ambient Arizona heat does not damage indoor epoxy countertops. The risk is cooking heat – always use trivets for pots from the stove. Arizona’s outdoor temperatures do not affect sealed interior surfaces.
Best time to apply epoxy countertops in Arizona
| Season | Temp Range | DIY Suitability |
|---|---|---|
|
Oct – Apr |
55°F – 85°F |
Ideal – optimal pot life and cure |
|
May – Jun |
85°F – 100°F |
Manageable with AC + early AM start |
|
Jul – Sep (Monsoon) |
100°F – 115°F+ |
Challenging – indoor AC essential; use slow-cure formula |
Epoxy Countertops Pros and Cons
| Pros | Cons |
|---|---|
|
Costs 60–80% less than granite or quartz |
Steep DIY learning curve – mistakes are hard to fix |
|
Fully customizable – marble, metallic, solid color |
Not heatproof – always use trivets |
|
Non-porous, stain and bacteria resistant |
Yellows without UV topcoat (critical in AZ) |
|
No demolition – resurface over existing countertop |
Full cure takes 7 days before heavy use |
|
Lasts 10–20 years with proper maintenance |
VOCs during application – ventilate thoroughly |
Quick Troubleshooting Guide
| Problem | Most Likely Cause | Fix |
|---|---|---|
|
Bubbles in cured surface |
Porous substrate, mixed too fast |
Sand, re-seal, re-pour |
|
Sticky spots |
Wrong mix ratio / undermixed |
Strip and re-apply with correct ratio |
|
Yellowing finish |
No UV topcoat / sun exposure |
Sand lightly, apply polyaspartic topcoat |
|
Peeling / delamination |
Inadequate surface prep, skipped sanding |
Full strip and re-prep required |
|
Cloudy/milky finish |
Moisture during cure (AZ monsoon) |
Dehumidify work area; re-coat |
Ready to Transform Your Arizona Countertops?
Whether you’re in Phoenix, Scottsdale, Tempe, Mesa, Chandler, or Tucson – epoxy countertops are one of the best value upgrades you can make to a kitchen or bathroom in 2026.
Frequently Asked Questions
-
How long do epoxy countertops last?
Professionally installed epoxy countertops last 10–20 years with proper care. DIY applications average 5–10 years. Annual re-application of a UV topcoat significantly extends lifespan, especially in sunny Arizona homes.
-
Is epoxy safe for food prep surfaces?
Yes. Fully cured epoxy (after 7 days) is non-porous, non-toxic, and food-safe. During the 7-day cure window, keep the surface clear of direct food contact.
-
Can I epoxy countertops outdoors in Arizona?
Only with a UV-resistant, weather-rated formula. Standard interior epoxy will yellow and chalk rapidly under Arizona's intense sun. Use polyaspartic-topcoated systems designed for outdoor exposure. Covered patios work best.
-
Do I need a professional or can I DIY?
DIY works well for surfaces under 50 sq ft, experienced renovators, and budgets under $500. For large kitchens, commercial spaces, or complex metallic designs, Arizona professional installers deliver cleaner results and typically offer a warranty.